When you think of New York-style pizza, you imagine a large thin slice that you fold in half to eat. What if I told you those iconic slices are not the only famous ‘za to come out of the great state of NY?
With a silly name and an interesting origin, Grandma pizza is one of the great secrets of New York state. Hailing from Long Island, this pizza has fans all over the country. While it may look like a Detroit pizza and a Sicilian pizza had a baby, this pizza is a work of art that is truly unique. And more importantly, I’m here to walk you through a detailed guide on how to make grandma pizza in your home oven.
What is Grandma-Style Pizza?
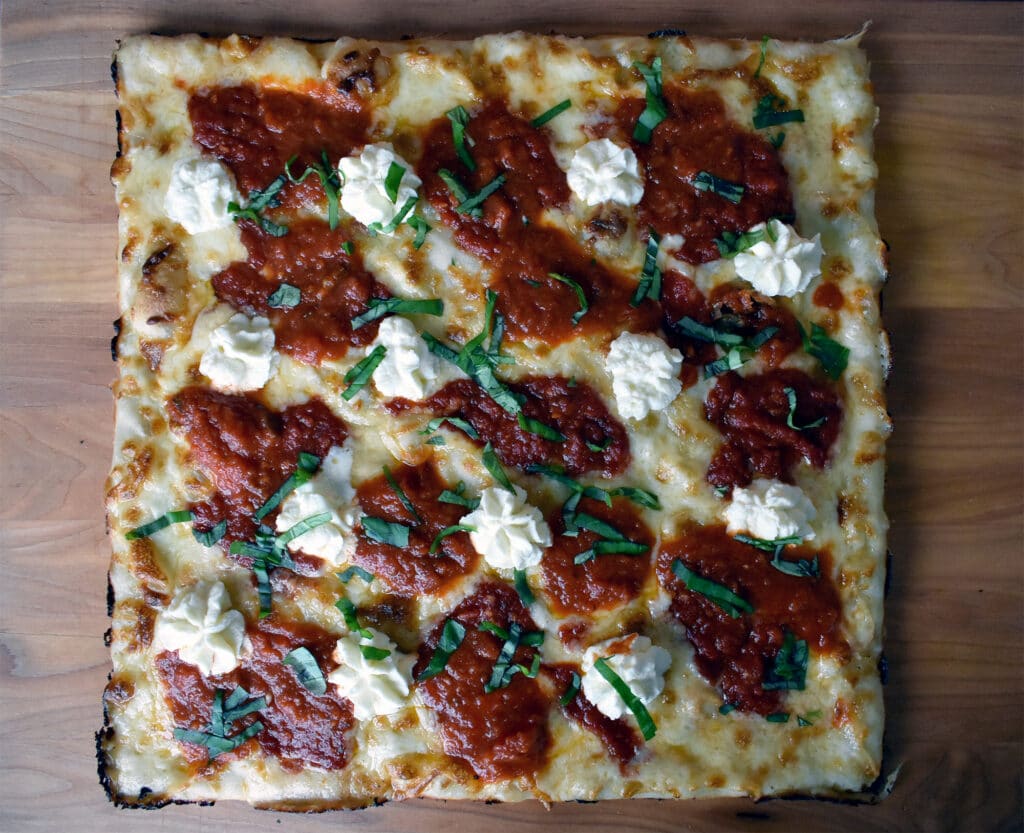
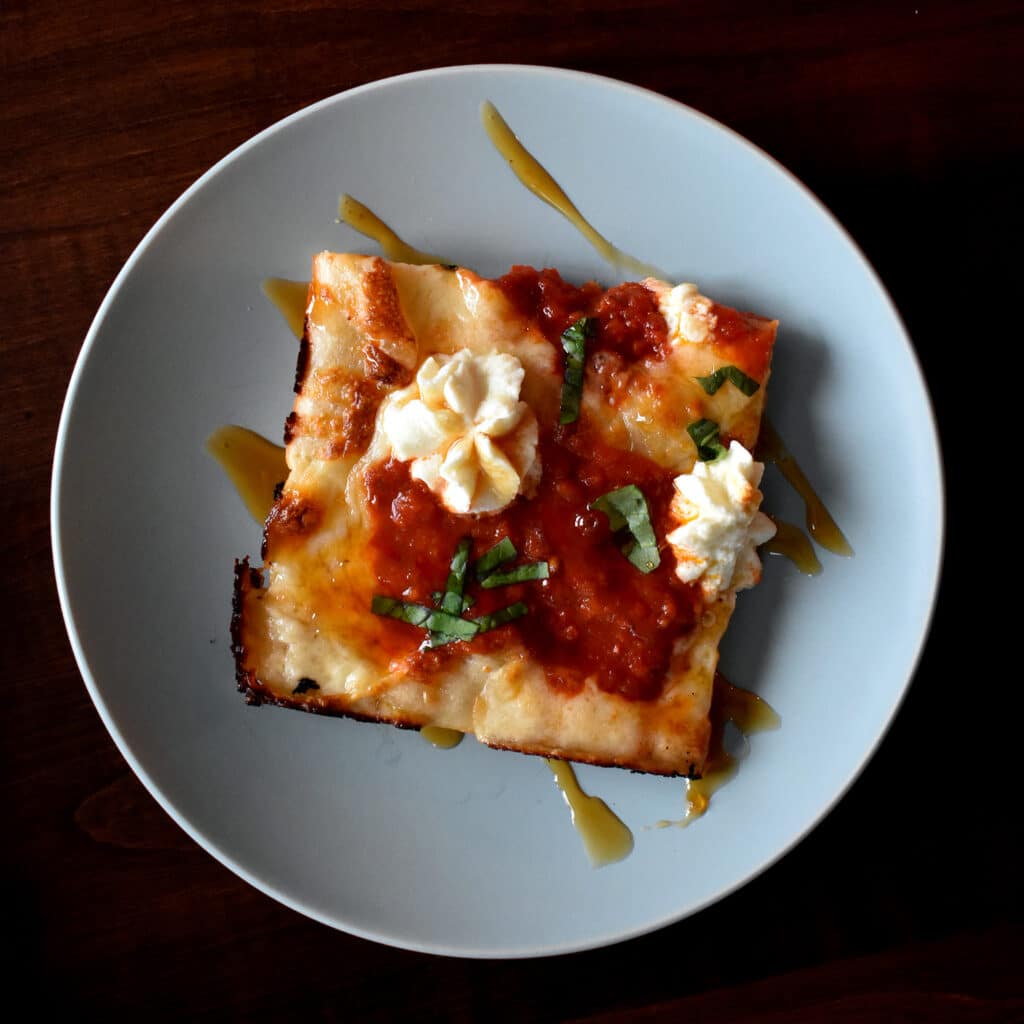
Grandma pizza is a rectangular pie made in a baking pan coated in lots of olive oil. It looks similar to a Sicilian or a thinner Detroit-style pie. The sauce often tops the cheese, like Detroit, but the pizza takes much less time to make. It is known as one of the best pizzas to make in a traditional home oven due to its simplicity and ease of making at home.
Origins
The true origin of Grandma-style pizza is unclear. What we do know is that it was created around the 1970s in Long Island, New York, about an hour east of NYC. It is said to have been created by Italian-American grandmothers that wanted to recreate the taste of their home country. The women wanted to create a pie in homage to their roots using the simple ingredients that they had at the time.
Some say that Grandma-style pizza is exactly the pie you would be served if invited into someone’s home for a homemade pizza dinner. Grandmas used to cook them in their home ovens without the use of a scorching-hot pizza oven, but with their regular kitchen ovens. That makes the recipe attainable for anyone!
Even though the pizza had existed for generations, it gained notoriety in 1994 when Umberto Corteo began serving “Sicilian Grandma” pizza at his restaurants on Long Island. Within only a few years, many more restaurants on Long Island started selling Grandma-style pizza. The name indicates respect for past generations and is not agist, but rather, a loving sentiment to honor our grandmothers. Today, Grandma pizza is synonymous with Long Island.
Grandma vs. Sicilian Style
While both of these pizza styles may seem similar, they are actually very different! Both are baked in a square pan, but the similarities end there.
The main difference between Grandma and Sicilian pizza is how the dough is handled. Sicilian pizza is typically made with a yeasted dough that rises for a long time in the pan for a crispy, airy, and thick crust. Then, sauce and cheese top the square pie.
Grandma-style is slightly different. Remember, Italian grandmothers were using what they had in the house. Grandma-style dough contains yeast and traditional ingredients like flour and extra virgin olive oil. Also, for bulk and heft, some Grandma-style dough recipes contain freshly mashed potato! This is a completely optional ingredient but really displays what those Italian-American grandmas were working with back then.
Perhaps the biggest difference is the short proof time of Grandma pizza. There is no need for a cold ferment or an obscenely long rise time. Once the dough has risen anywhere from 1-2 hours, the dough is ready to be stretched and formed on the baking sheet.
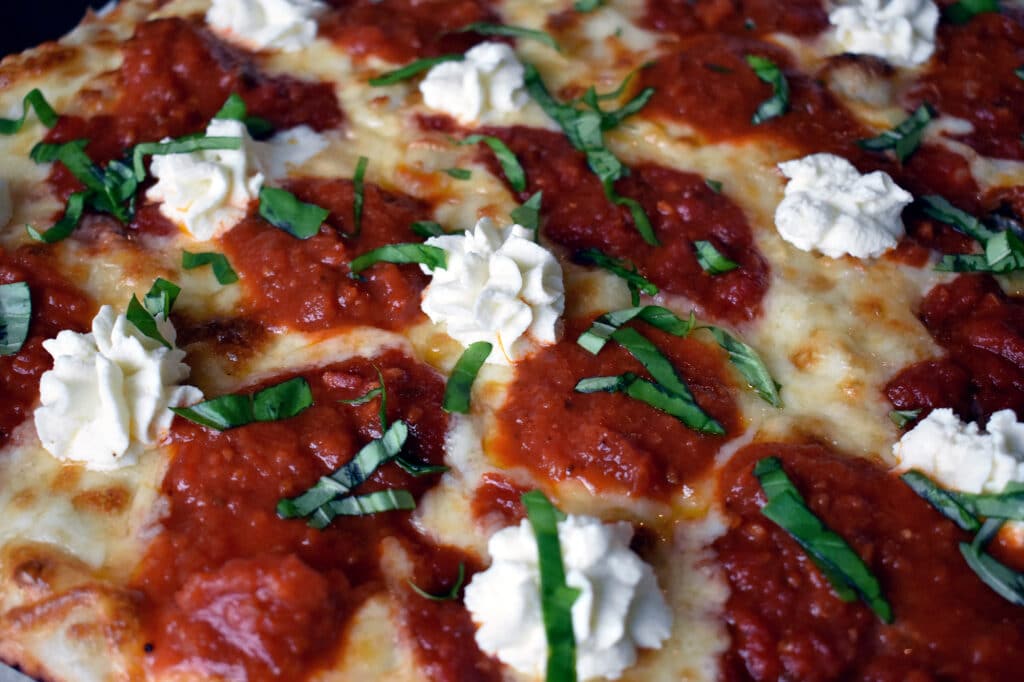
Also, many Grandma-style enthusiasts will tell you that the cheese goes on the bottom and the sauce goes on top, much like Chicago-style. Just like America, Grandma pizza is a melting pot of pizza techniques that is simple to make and delicious to eat.
How to Make Grandma-Style Pizza
Grandma pizza could not be simpler to make. You likely already have the ingredients in your pantry and it is so much faster than other pizza recipes. Good pizza isn’t usually fast, and fast pizza usually isn’t good. However, Grandma pizza from Long Island is an exception.
First, you want to make your dough. Use a stand mixer for ease and mix your crust ingredients together until stretchy and smooth. Oil a bowl and place the dough inside. Allow to rise for just a few hours, covering with oiled plastic wrap. We are not looking for a fermented flavor here.
Next, use a regular baking sheet and coat it in olive oil to keep the dough from sticking. Stretch your risen dough to fit inside. Then, place your cheese over the top followed by the sauce. Depending on how traditional you would like to be, you can also lay the sauce down before the cheese.
Bake in a preheated 450F oven for 5 minutes. Remove and add more cheese and sauce on top. Return to the oven and bake until well-browned with some dark spots. Allow the pizza to cool slightly before cutting into squares and enjoying.
Proof Time
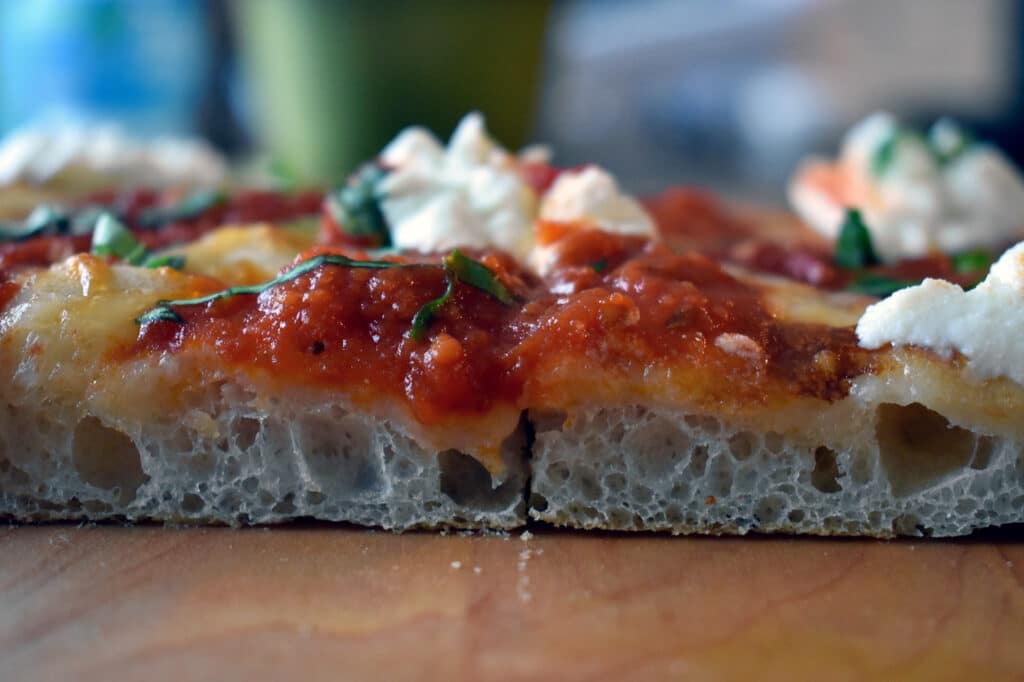
The low proof time might be the most important part of this entire recipe. Often, pizza recipes require many hours of rising time. Some, like Neapolitan pizza dough, need a cold ferment in the oven to gain umami, funky flavors. Grandma pizza is well-loved because of its ability to be made within a 3-hour time period. The result leads to a thin crust with a great dense, thin, and crisp texture, cut into perfect squares.
Remember Grandma pizza for when you are craving homemade pizza on a given afternoon. Those Italian-American grandmothers sure knew what they were doing. Italian cooking is all about simplicity with great ingredients, and this pizza is no exception. Cooking it would make your Nonni proud!
Show Granny Some Love!
Let’s honor our elders by relishing the beauty of Grandma-style pizza. Folks who have been to Long Island prefer it for good reason. The dense, crisp, and thin crust is the perfect base for cheese and tomato sauce, in that order. If you cannot make it to Long Island, make Grandma pizza at home! After all, it is one of the simplest pizza recipes done in a home oven.
Now, let’s get cooking!

Grandma Style Pizza
Equipment
- 1 14"x14" Grandma Style Pan We used a Lloyd's Pan, often considered one of the best out there for commercial or home use. Other types of pans can be used, including standard bakeware. This recipes makes 700g of dough which is perfect for the 14×14 pan; if you are using a smaller pan, you will want to discard a bit of the final dough to ensure the crust is not too thick.
- Outdoor pizza oven (Optional). I like to cook this in my Ooni Koda 16", frequently rotating the pan every couple minutes. However home ovens work just as well for this style of pizza.
Ingredients
- Butter or Peanut Oil To coat the pan
Dough
- 250 g Bread Flour
- 140 g All Purpose Flour
- 290 g Water (warmed to 90°F)
- 12 g Kosher Salt
- 2 g Instant Dried Yeast
Toppings
- 12 oz Whole Milk Mozzarella Shredded
- Ultimate Homemade Pizza Sauce
- Fresh Basil Chopped
- Ricotta Optional
Instructions
Make the dough.
- Combine the flour and salt in the bowl of a stand mixer fitted with a dough hook attachment. Stir to combine.
- Heat water in microwavable safe bowl for 30 seconds. Temperature should be between 85F and 95F. Add yeast to water and let sit for 5 minutes. We're not looking for a full activation, just a bit of a jumpstart.
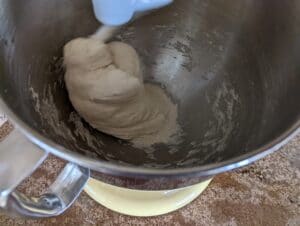
- Slowly add water/yeast mixture to the stand mixer, mixing on low until it forms a smooth consistency, about 10 minutes. Note: dough will be very wet and sticky, and the bottom will stick to the bowl. You may need to scrape the bottom up with a spatula from time to time.
- Turn mixer off. With the dough still in mixer bowl, and with wet hands, fold into a ball. Cover with plastic wrap, and set on counter for 1 – 2 hours to kick-start fermentation. You should notice some rise in the dough but not quite doubling in volume.
- Place in refrigerator, covered, for 1 to 2 days.
Stretch dough in pan.
- Let dough come to room temperature on the counter for 3 hours.
- Preheat the oven to 550°F (if you have a pizza stone or steel, add it to your oven on the lower rack). If using an Ooni or other outdoor pizza oven, preheat until 650-750 degrees, about 15 minutes.
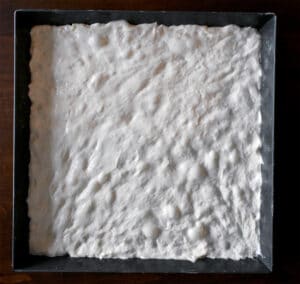
- Grease your pan with a stick of butter or Crisco. Scrape the dough out of the bowl and into the pan. Because of the high hydration in this recipe, you may need to wet your hands prior to handling. Flatten and stretch the dough to fit the pan as close as possible (a tiny bit of shrinking may happen, that's fine). Let sit for ½ hour, then stretch again ensuring dough touches edges of pan. You can pull the dough up the edges of the pan an inch or so to create that crust characteristic to grandma-style pizzas.
Toppings, in order; then bake.
- Add shredded mozzarella. With a ladle, dollop sauce around the pizza.
- For home ovens: place your pan on the steel/stone and bake for 15 minutes, watching to ensure cheese does not burn. If you do not have a stone/steel, place the pan on the bottom of your oven (no rack) and cook for the same time. In both cases, toss the broiler on for the final minute or two if the cheese is not browning fast enough. For outdoor pizza ovens: bake for 12 minutes, rotating pan a quarter turn every 3 minutes, and covering with tinfoil if browning too quickly.
- Remove from oven and use a thin metal spatula along the edges to separate the pizza from the pan. Slide onto a wire rack to rest for 3 minutes. Slice, and enjoy.


